Why Have a Cookie When You Can Have Oreo Cake?
There’s something to be said for taking things to the next level. Whether it’s adding potato chips to your home fries to make a King Size Family breakfast, or spending two days making all of the components in an ice-box pie from scratch, sometimes inspiration takes hold takes you to a place you never new existed. That was the case with our Oreo Cake, which was inspired by the childhood classic and reimagined as an impressive dessert the whole family will love.

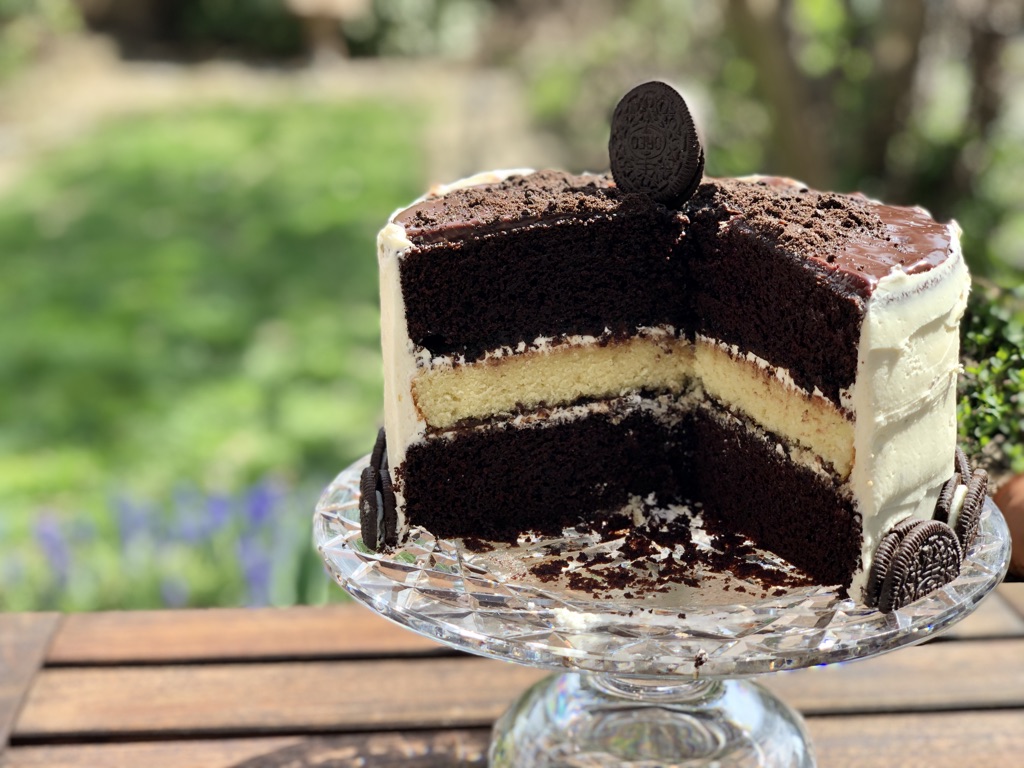
A surprise layer of vanilla cake makes our Oreo Cake even more authentic!
When the Only Limit Is Your Imagination
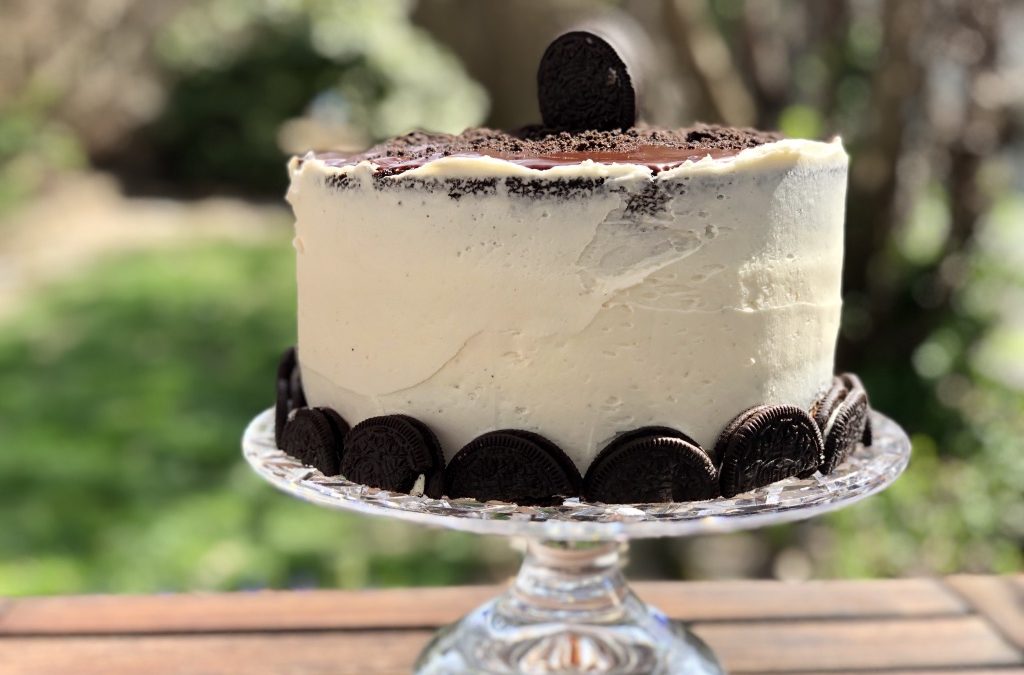
Recently we found ourselves looking for some distraction and, better yet, maybe even a little bit of fun. So we asked ourselves a question, “If you could create any cake you wanted, what would it be?” That turned into a family collaboration where an Oreo-inspired vision was brought to life in the form of cake. Starting with multiple layers to look like an obvious “sandwich” when cut into, we filled our layers with buttercream frosting, chocolate ganache, and chocolate wafer cookie crumbles. We finished the cake with a rustic, semi-naked look and decorated with Oreo cookies.

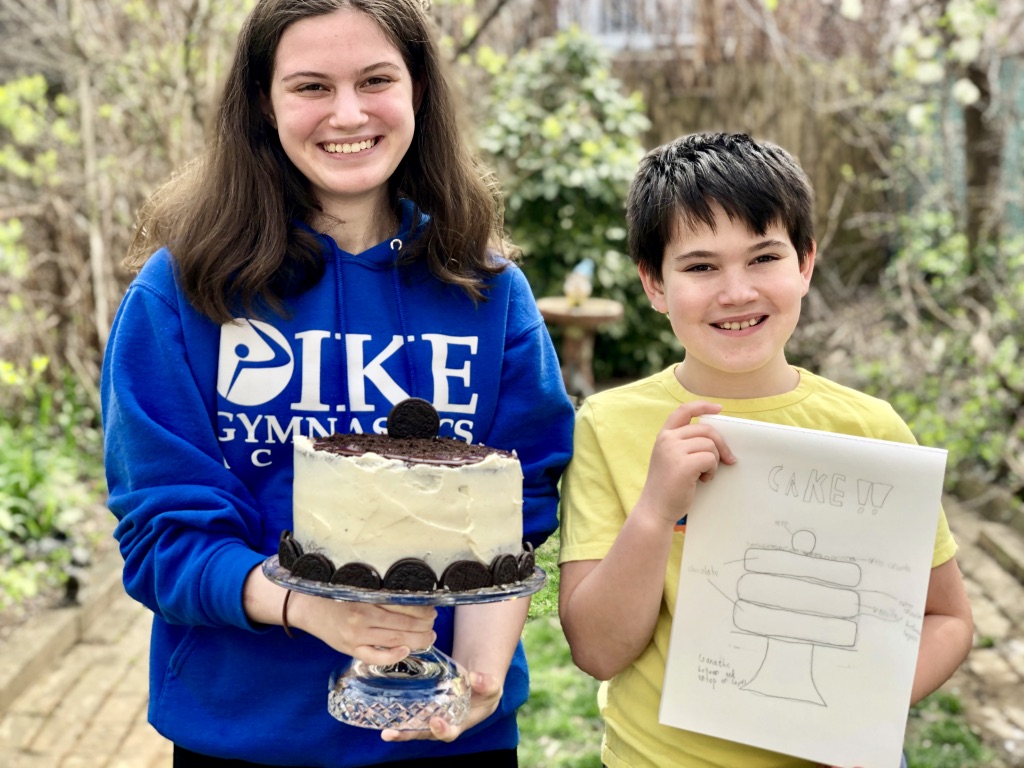
The team responsible for the vision and execution of our Oreo Cake.
A “How To” Video
The family collaboration extended to the creation of our “how to” video. To ensure your assembly goes quickly as possible make sure to read the recipe the whole way through before starting, assemble all of your ingredients, and make all of the individual components required. As long as you are all set up in advance the actual cake assemblage is a snap.
THE RECIPE: OREO CAKE
Ingredients
Chocolate Cake
1 3/4 cups sugar
3/4 cups dark cocoa powder
2 cups flour
1 1/2 teaspoon baking soda
2 teaspoons baking powder
1 teaspoon salt
3/4 cup vegetable oil
3 large eggs
1 cup buttermilk
1/2 cup strongly brewed coffee
Vanilla Cake
2 cups all-purpose flour
2 teaspoon baking powder
1/4 teaspoon salt
3/4 cup whole milk
1 1/2 teaspoon vanilla
1 1/4 cup sugar
3/4 cup unsalted butter
3 large eggs
Oreo Crumbles
1 row of Oreo cookies
Chocolate Ganache
1/2 cup heavy cream
1/2 cup semi-sweet chocolate chips
Buttercream Frosting
4 sticks unsalted butter, cut into 20 pieces and softened
1/4 cup heavy cream
1 Tablespoon vanilla extract
1/4 teaspoon salt
4 cups confectioner’s sugar
1 whole plus 6-8 additional Oreos cut in half for decoration
Step 1: Make the Chocolate Cake
Preheat oven to 350 degrees Fahrenheit. Grease and flour two 8″ round cake pans (can use baking spray).
In a large bowl, whisk together dry ingredients. In a separate bowl, whisk oil, eggs and buttermilk. Pour wet ingredients into dry, whisking until no lumps remain. Pour in coffee, whisk until just combined. Batter will be thin. Pour batter into prepared pans and bake until toothpick inserted in center comes out clean, about 30 minutes. Cool in pan on wire rack for 10 minutes, invert cake into wire rack and let cool completely before frosting.
Step 2: Make Vanilla Cake
Preheat oven to 350 degrees Fahrenheit. Grease and flour three 8″ round cake pans (please note you will only use one of the baked cakes for this recipe; the other two can be wrapped in plastic wrap and tin foil and frozen to be eater at a later date). In a medium bowl, combine flour, baking powder, and salt; set aside. In a small bowl or measuring cup mix milk and vanilla; set aside. In the bowl of a standing mixer fitted with a paddle attachment, beat butter and sugar at low speed until blended. Increase speed to high; beat until creamy (about 3 minutes), scraping sides of bowl with spatula as needed. Reduce speed to low; add eggs, 1 at a time, beating well after each addition. Beat in flour mixture alternating with milk mixture, beginning and ending with flour mixture just until blended, scraping sides of bowl as needed. Pour batter into prepared pans and bake 23-25 minutes, until toothpick inserted in center comes out clean. Cool pans on wire rack for 10 minutes, invert into wire rack and cool completely.
Step 3: Make the Oreo Crumbs
Remove creme filling from Oreo sandwich cookies. Place chocolate cookie halves in a food process and process into crumbs, a few seconds. Discard unused creme filling.
Step 4: Make the Chocolate Ganache
Place heavy cream in a microwave-safe measuring cup or bowl. Place chocolate chips in a heat-proof medium size bowl. Heat heavy cream in microwave about one minute, until cream just starts to simmer. Pour heated cream over chocolate chips and cover with plastic wrap and set aside for 3-5 minutes. Stir chocolate/cream mixture until smooth, then allow to cool 10 minutes before using. When cooled, pour into a squeeze bottle so ready to use. If you don’t have a squeeze bottle a spoon will be just fine.
Step 5: Make the Buttercream Frosting
In the bowl of a standing mixer fitted with paddle attachment, on medium speed combine butter, cream, vanilla, and salt, about one minute. Scrape down sides of bowl. With mixer on low speed, slowly add confectioner’s sugar, then beat until smooth, about 4 minutes. Increase speed to medium-high and beat until frosting is light and fluffy, about 5 minutes.
Step 6: Assemble the Cake
Place one chocolate layer of the cake on cake stand or plate. Frost the top of the cake with the buttercream frosting, cover with chocolate ganache, and sprinkle Oreo crumble on top, stopping crumble about 1/2″ from the edge. Add vanilla layer and repeat with buttercream, chocolate ganache, and Oreo crumble. Add the remaining chocolate layer, frost the top of the third layer and the sides with an offset spatula, roughly covering sides so parts of the chocolate cake show through.
Apply the ganache to top of cake, either with a squeeze bottle or spoon, take care to end just at the edges so the ganache doesn’t spill over. With a small offset gently spatula smooth ganache so it evenly covers the top of the cake.
Top with more Oreo crumbs, and decorate with whole Oreo on top and halved Oreos along bottom border.

Please tell us what you think. We really want to know!
Tell us what you think!
Please comment below if you try our Oreo Cake recipe and let us know how it goes! Find all of Brooklyn to the Catskills‘ recipes in the Food section of our website. We’d love to hear what you think about our other recipes too!


I did it! My son requested this cake for his birthday and it was a huge hit. Although this was a labor intensive cake, your instructions were super easy to follow. I will not attempt this with a hand mixer again! Time for an upgrade!
Thank you Brooklyn to the Catskills (and family!) for making my son’s birthday extra special!
Debbie
So glad it was a hit! A free-standing mixer is definitely worth the counter space (and investment) if you like to bake. :-).